Showing posts with label classic christmas set. Show all posts

Thursday, December 4, 2014

Winter Trees Shaker Card

Hi everyone, hope all is well with you! Yesterday the weather got above freezing and finished melting all the ice that we were hit with Sunday night / Monday morning. My week is finally looking up, it's almost over here at my "real" job and tomorrow I'm taking off early...woo-hoo!!...so I can go play at the stamping store I teach at. I have a class to teach tomorrow night too, so that's even more fun! I'm really looking forward to the weekend. I'm just going to relax and take it easy after working in the stamp shop for black Friday then teaching an all day double class on Saturday! I'm thinking I deserve a little R&R ;)

Did you know that DeNami Design has a sketch challenge running?? I'm sooo excited and couldn't wait to make a little something so I could join in! There's still time for you to play, it doesn't end until Sunday, December 7th.
Remember, sketches are ALL about your interpretation, they are meant to be fun so flip it, rearrange it, change it up and put your own spin on it. Take my card for example - instead of a paper strip going down the  left side of the whole card I used a length of ribbon on my focal panel and instead of my flag being on the lower right corner I simply added a tiny one to my bow.

Well, I was going to post this  tomorrow for the challenge but since I'm going to be a bit busy playing around I thought I'd post it today...
 I made a fun little shaker card! I started off with a white card base (A2 sized). Then cut a white panel and stamped on my sentiment, F244 Tidings Of Joy, then dry embossed it. I set that aside and made my little shaker piece to which I added die cut trees, S S02 Extra Fine glitter from DeNami and clear sequins from Pretty Pink Posh. After adhering it to the dry embossed panel I tied on a length of ribbon and attached the whole piece to the card base. The bow needed a little something and I still needed to add a flag as per the sketch so I added the little tag/flag that I die cut then stamped with the pine sprig from the PF02 Classic Christmas petit four set. To finish off the card I added a large die cut tree and I originally added Extra Fine Glitter to it using a Quickie Glue Pen to it but the glitter didn't show up as well as I wanted it too so I broke out some Stickles to make "snow". 


I'm also going to add this cutie to the gallery on the DeNami Design blog. Did you see the post where we can share our Christmas creations? HOW FUN!!!

Well that's it for me today! I'll see you back here on Monday with another fun Surprise!! I hope you have a terrific weekend :)

Wednesday, September 24, 2014

All about wreaths...

Did you like Mondays card with the autumn wreath? Well, I thought I'd show y'all a few more cards that I've made using that same little Winter Wreath that I used on Monday's card, it's sooo easy to change up into whatever season / holiday you want...


Stamps:


Stamps:


Stamps:


I just love how truly versatile this Winter Wreath is and it's a perfect size to coordinate with all of the darling Petit Four sets. Well that's it for me today, I'll see ya on Friday!!

Friday, December 20, 2013

Merry Christmas

Hello everyone and happy Friday!! Ohh my gosh...the LAST shopping weekend before Christmas...are ya ready??? Can you believe Christmas is Wednesday???? I'm sooo not ready. Usually I am calm and collected and have things done well in advance...not so much this year and I'm in panic mode! I just have my son to shop for and it's all his fault since he won't give me a clue as to what to get him. Darn kids!!! 

With things being all willy-nilly this time of year I decided to pull a cute little card out of the Addict vault. I know what you're gonna say..."again with the Medium Pine tree??" Yup, again with the Medium Pine Tree...told ya it was one of my faves, lol!! ;)
I just LOVE making my own patterned paper and this little card is chocked full of DeNami yumminess!! For the card base I simply used the polka dot background with some Versa Mark ink. On the larger panel I used the same polka dot background stamp then stamped the berries and pine cone from the Classic Christmas stamp set. On the smaller panes I used the polka dot background again and then stamped the word "Merry" from the Merry Christmas sentiment along with the holly leaves from the Classic Christmas set I used on the other panel. It seems like I used a lot of stamps, but really, I didn't...5 stamps is all it took - medium pine, medium swirl, polka dot background, Merry Christmas sentiment & Classic Christmas. Having that little Classic Christmas petit four set made it very easy since you get 4 matching images in one little set. I couldn't live without my DeNami petit four sets!!

Well that's it for me today. Be careful out there this weekend, too many party goers and shoppers! See you on Monday :)

Friday, November 15, 2013

Poinsettias aren't just for Christmas...

Ohh my goodness, I must apologise to all of you. I've just been so off kilter these days that the blog has suffered a bit! It's been a couple of months since I've done a "tips & tricks" post...where did the time go??? Am I really that busy in my life or do I just think I am...jeeze???? Either way, I've neglected y'all!


With Christmas right around the corner (there's that where'd the time go thing again!!) and DeNami having some of the prettiest holiday images out there (in my opinion) I thought I'd pull a few out. Now unless you've robbed a bank or won the lottery, your like me and don't have unlimited funds to be buying  a ton of stamps. With that being said, I thought I'd show you my all time favorite DeNami Holiday image and how I can easily change it up for any occasion...not just Christmas!

 By changing up the colors from the traditional red and green it made this little card perfect for a thinking of you, birthday or even a wedding for that matter!


It was very simple to make and came together quickly. I stamped my background using the berries from the Classic Christmas petit four set and the small flower from the Poinsettia Vine cling set. I stamped the large poinsettia on my little scalloped circle, then stamped it again on scratch paper and cut out just the little center flower part and popped it up on foam tape. Add a little amethyst glitter and there ya go, a poinsettia for any occasion! If I were using this for a birthday or thinking of you card I think I'd use a little bit larger punched circle so that I could use one of the DeNami circle sentiments (best wishes, birthday wishes, thinking of you, etc..) around the poinsettia. And if I were doing this card in Christmas colors DeNami's circle stamps come in a Merry Christmas & Happy Holidays sentiment also.


All of the circle sentiment stamps can be found under the borders & frames listing.
Classic Christmas set
Poinsettia Vine cling set


Have a great weekend and I'll see you back here on Monday :)

Monday, August 26, 2013

Wreaths Galore!!!


Hello everyone! Were you able to catch my photo tutorial using the Winter Wreath on Friday? Just to show you how versatile this little wreath can be, I made LOTS of more wreaths, lol!! I have so many ideas in my head and wanted to make a ton more but, I simply ran out of time!!  Hopefully I can revisit this little wreath soon :)
 
Let's get started...
 
First up is a little elegant summer wreath. I made the one on the left first but decided it was too "muddy" so I made the one on the right...I like it much better.
Stamps used:
winter wreath
solid rose accents set
sweet saying stamp set


This next card showcases a brand new leaf set for fall. Warm rich tones make this little card perfect for your Thanksgiving celebration.
Stamps Used:
Winter Wreath
Thankful For You
Solid Leaves Set
 
 
I couldn't stop at just one Fall themed card. The problem is is that I wanted to use the little acorn and I thought it would get lost on the card with the large leaves. I just had to give the darling acorn its own card, lol! 

Stamps used:
Winter Wreath
Autumn Stamp set
Elegant Floral stamp set
Garden Accent stamp set
Thankful for you

 
I have to admit that I'm pretty smitten with this next card. Y'all know that Halloween is my favorite holiday, so there was no way I could resist making a Halloween wreath!! I have several ideas for a Halloween wreath and wish I could have made them all for you, but don't worry, Halloween isn't that far off!! ;)

Stamps used:
Winter Wreath
Halloween stamp set
Solid Rose Accents stamp set


I wanted to do a winter theme that wasn't Christmas. I wish you could see this one in person, it had lots of pretty shimmer to it thanks to using Brillance inks. Unfortunately the camera can't capture just how pretty it is. The little "jingle bells" are double stamped - since the Brilliance Platinum doesn't really show up well on white cardstock, I stamped them in a light grey then stamped them over again using the Platinum so that they would have the same shimmer as the wreath itself.
Stamps used:
Winter Wreath
Garden Accents stamp set
Small Solid Snowflake Circle

 
Well, even though I did the tutorial on a Christmas card, I couldn't resist doing one more. This time I have it on a little panel that I poped up with foam tape.
 
Winter Wreath
Winter Pine set
Christmas Greeting set
Classic Christmas set


Well that's it for me today! I hope my ideas have started you thinking and that you've come up with a few ideas too.  Let me know if you make a little wreath, I'd LOVE to stop by for a visit to see it :)

Friday, August 23, 2013

Versatile wreath

Hi everyone and happy Friday!! As promised I have a little photo tutorial, however, my camera is still being a real pain in my tushie and it would not throw me a bone what so ever...grumble grumble! :(    My pictures aren't all that great, but I didn't want to let y'all down so I pushed through it :)
As a lot of you know, I was lucky enough to be able to work in the DeNami show booth last weekend. I had the BEST time ever!! I met soooo many sweet DeNami fans and had a great time telling gals all about the yummy goodness that makes up DeNami...sigh, it was a dream come true! I also got to run the "make & take" table all by myself! I was demonstrating something that I don't pull out near often enough...Crystal Lacquer Pearl Pens. I showed gals how to use them to color, hold glitter and add lots of great dimension. The only downfall (if you can call it that, lol) of the weekend was that we were soooo busy the whole time that there wasn't two seconds to really "talk shop" with Nami. I would have loved to watch her create some beautiful cards and bounce ideas back and forth. But was a blast none the less :)
Nami had the brand new Winter Wreath pulled out and was making beautiful fall wreaths in warm and rich earth tones with lots of sparkle. She even used it for one of the classes she taught...wish I could have seen it!! Well, it gave me an idea, I wanted to do a little tutorial showing just how fun and extremely versatile this stamp can be and why I think it's now on my 10 must have list.

How does a card that's practically one layer, has lots of bling for the holiday season and takes only about 5 steps sound?? I'm going to start off showing you how I made a pretty little Christmas card (it's not that far off ladies!!) then on Monday, I'll showcase several other cards I've made ranging from everyday to several holidays just so you can see the true versatility of this one little image.
I gathered a few supplies:
Cut a piece of white cardstock to 5 1/2 X * 1/2 and fold in half to form an A2 sized card base. Stamp the wreath on the center using a medium brown ink color.
  
Using two different green inks, fill in the wreath with the pine sprig from the Winter Pine stamp set.  Then, using a dark brown stamp the pine cone from the same stamp set. Add the berries from the Classic Christmas petit four set in a reddish color to finish filling it all in. *Don't be afraid to layer those ink colors!!

Using the same ink that you stamped the wreath in, stamp a little banner on a piece of scrap white cardstock. Stamp the Noel sentiment from the new Christmas Greetings stamp set along with some berry accents and fussy cut.

 Using one color of Crystal Lacquer Pearl Pen or Crystal Lacquer & glitter at a time, add accents as desired. I ended up adding a couple of additional colors that I didn't picture in my supplies list. * I added some Strawberry Freeze along with the Cranberry and some Cirtone along with the Evergreen for some contrast.

Once your giltter is dried attach your sentiment using foam tape (or you can do this step before you glitter) and add a pretty little bow.

Here's my finished card...


Just 5 easy peasy little steps is all this card took. Don't forget, I'll be back here on Monday with a fun line up of other cards using easy basic layouts and this very versatile wreath!


Thursday, December 20, 2012

Classic Christmas...

I wasn't to sure how this card was going to turn out as I was trying to come up with a new layout. But in the end, it makes me smile, and we all know that that's what counts. It's very rare that I make a card on the fly without any forethought and comes out so perfect in my eyes. Hope you like it too :)


So whatcha think? I just had to have me some polka dots, lol. I started out by pulling out the green and lime cardstocks then realized I needed a 3rd neutral color and decided on kraft...kraft goes with everything! I just love that medium pine image. I purchased it last year along with the 3 stamps that you can lay over the top (this swirl line, stars and a mix of the stars and swirl). It's simply a beautiful little stamp.
 
PS: the medium tree swirl and medium star tree are on clearance....just sayin' ;)
 
 
Thanks for stopping by!


Wednesday, December 19, 2012

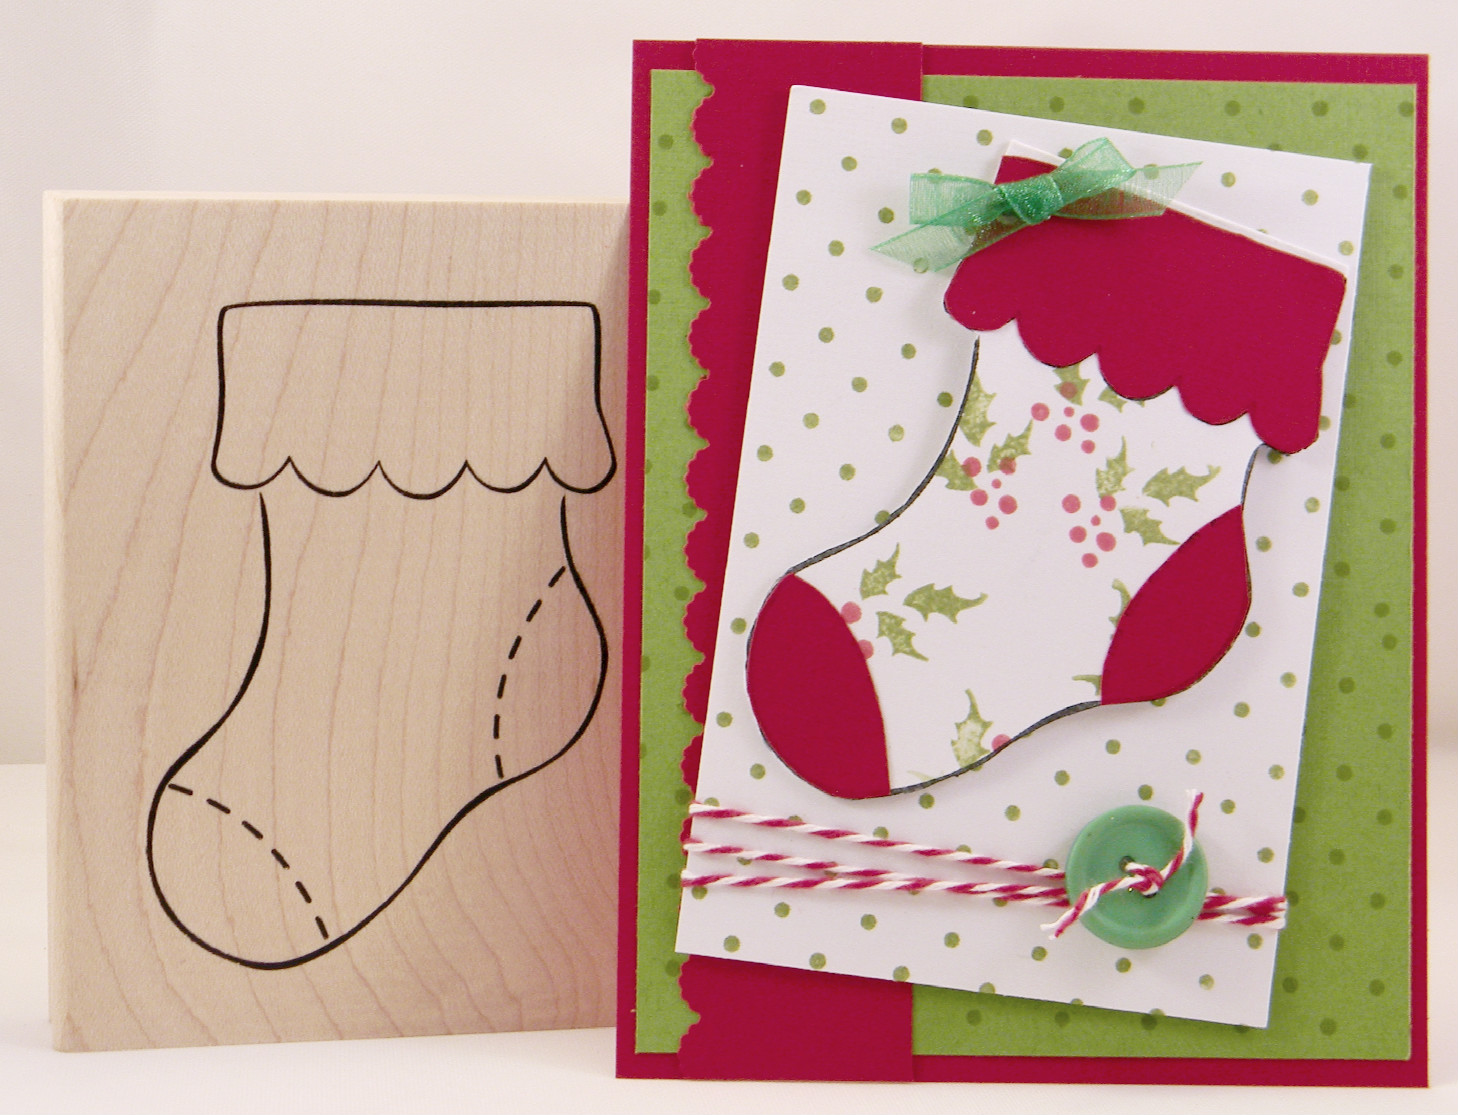
Christmas stockings

Are you ready to see a fun little idea I've come up with? I'm super excited to share this with all of you!!
 
I decided that I wanted to make something a little different and when i was making a few tags for presents I had a little light bulb moment ;)  And hey, at my age they just aren't all that often so I was over the top excited to start playing with the idea! Hehehehehe
 

 We all pretty much stick to the standard A2 sized card, but who says it has to open like a normal card....


I started off with an single layer of A2 sized cardstock and added the green, punched and white layers like I would on a normal card front. Then I made a hinged stocking and added my sentiment on the inside. It still fits inside my normal envelopes but is different and a little more fun.


Thanks for stopping by!


Tuesday, December 18, 2012

Christmas bag

Hi everyone. Today I want to share a bag that I made for one of my Hubby's Christmas gifts. I ran out of store bought bags and honestly, I was way to lazy to go to the local dollar store and didn't want to wait until I was out and about again so I improvised. I have several normal old brown lunch bags living in the back of the pantry so I just pulled one out and went to town on it.  ;)  

This bag was super CHEAP, EASY and FAST, what's not to love about that??
I simply used the Classic Christmas petite four set to randomly stamp a design all over the bag then randomly stamped the Christmas Wishes sentiment. I didn't like the top edge of the bag so I simply used an edge punch to make it pretty. To close it I folded it over securing it with my ATG and ran a piece of ribbon through it to dress it up. See, sometimes good things come from being lazy, lol!

Thanks so much for stopping by!


Monday, December 26, 2011

Chickie Ornament

Isn't everything cuter when you add chickies???
I just loved making this little card...I heart me some chickies! You cant tell because of the bow, but I used the stitched border stamp and the curly cue from the leaf accent set to make the hanger.


Please leave me a comment and let me know what you think....good or bad....or even better - what would you have done differently??...crafty minds wanna know!