Friday, August 30, 2013

Nom Nom NEON Nom....

Lately as I walk through the stores I'm taken back to my teenage years...the 80's was full of great music, big hair and bright neon colors! From clothing, notebooks, hair accessories and nail polish...neon is {once again} HOT HOT HOT!
 
All this yumminess makes me want to grab a white shirt from my dads closet and pair it up with a loose pencil (skinny) tie, a wrap around belt. black leggings those thin nylon neon socks with the fold down cuff and a pair of black flats! Ahhh, those were the days.....sigh!!
 
While shopping at the "big red bullseye" store, I came across something that made my heart smile...neon Washi!!! I quickly snapped a picture and texted Paulina (From DeNami & Pretty Pink Posh). Ohhh the joy and wonderfulness those neon Washi tapes brought to me, I was in love at first sight! I quickly scooped them up into my cart! I would have probably tried to shank someone with some Cutter Bee scissors and tied them up with Doodle Bug twine if they dared touched my Washi...just sayin'. It would have been U.G.L.Y!
 
When I got home I decided it was finally time to order the fun neon inks that I saw Paulina using from Ellen Hutson (link on her Pretty Pink Posh blog - bottom right hand side).
 
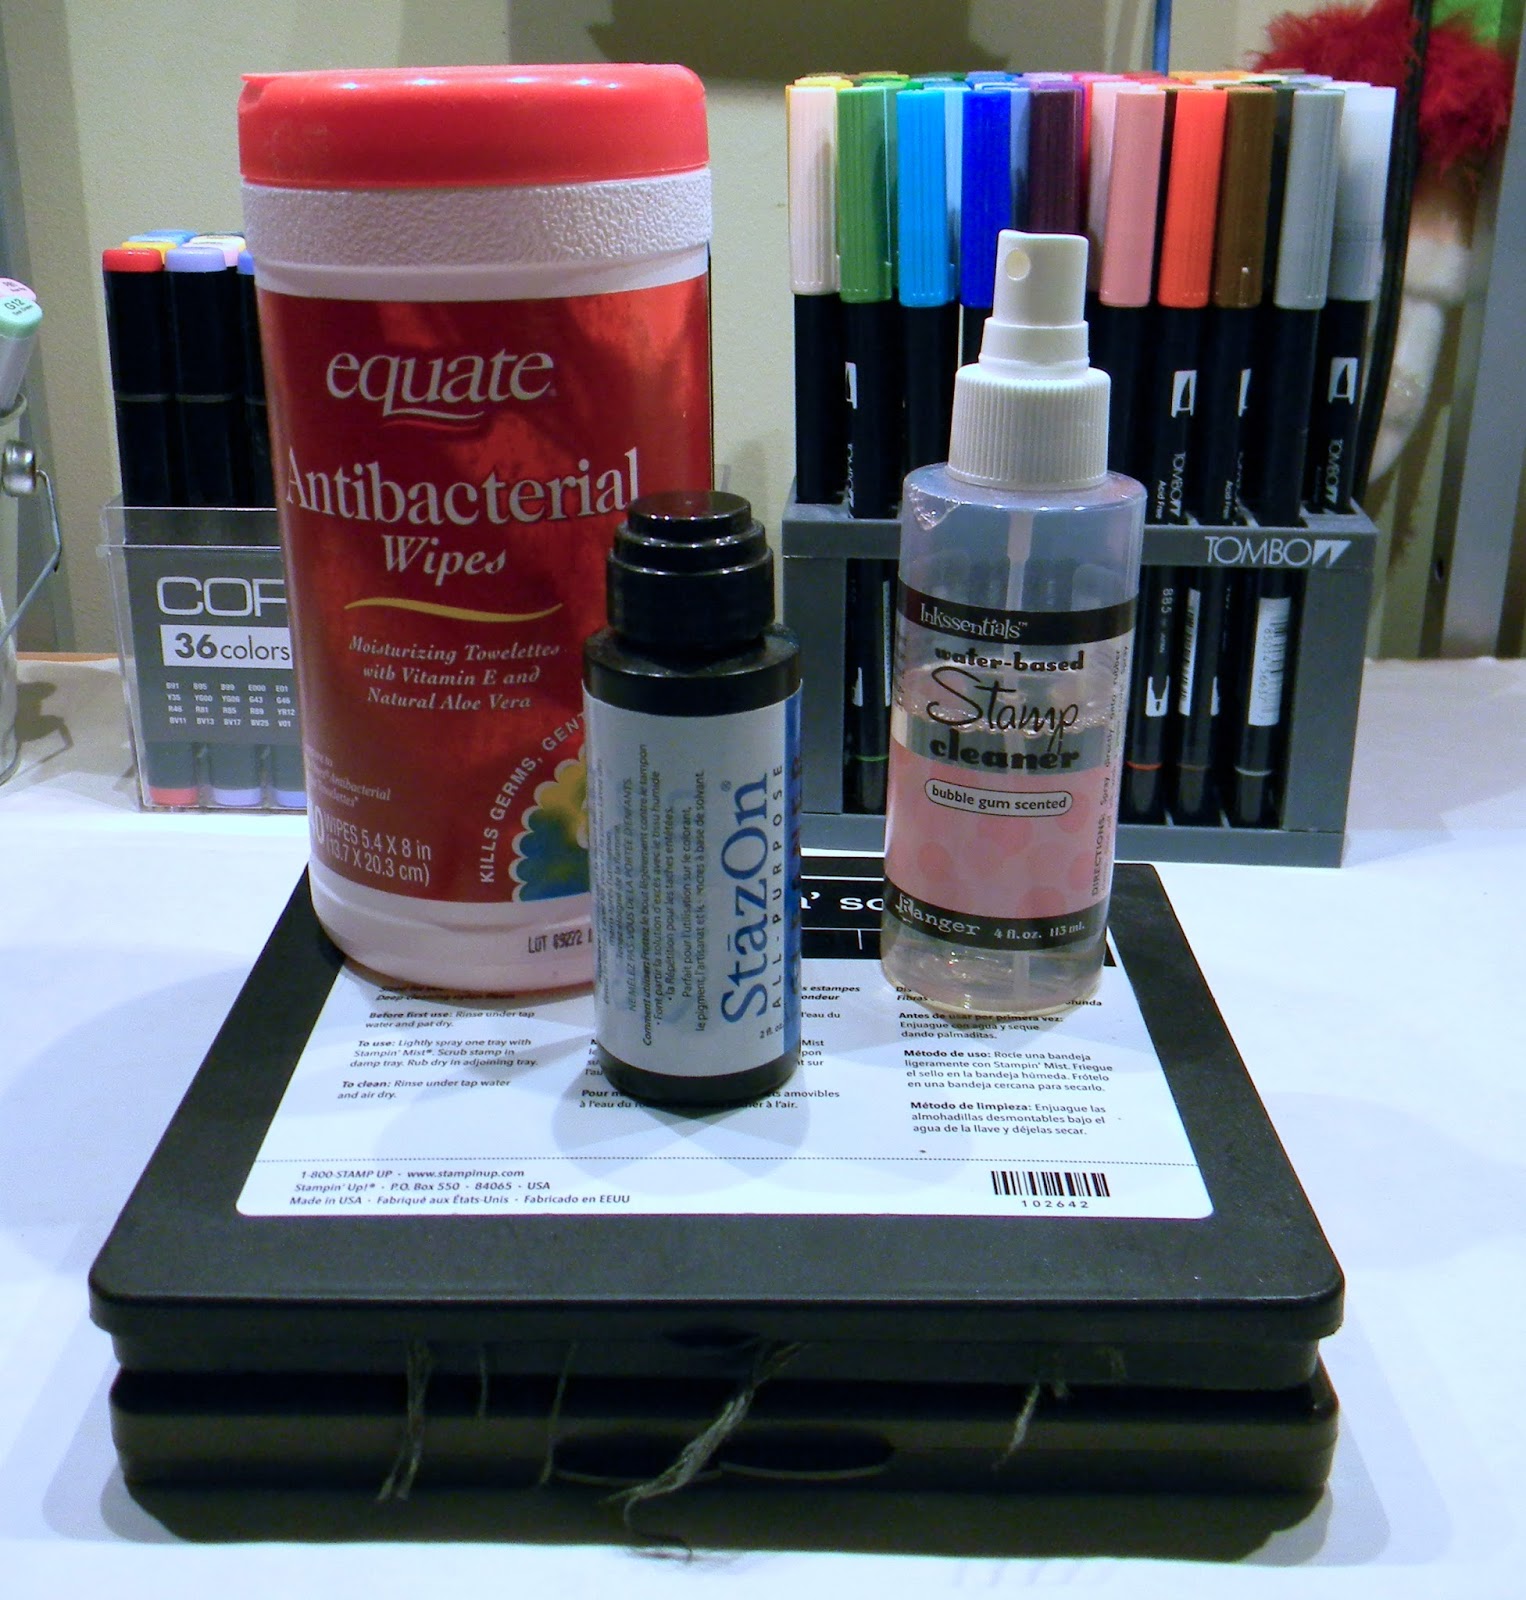
Good thing Ellen Hutson has super fast shipping, I don't think my heart could have taken too a long wait! The day I received them I just HAD to make a little card. The little splatter and sentiments are from the Zombies stamp set from Sweet Stamp Shop was perfect for showcasing these fun colors....

After stamping my splatters and sentiment I added a few strips of neon Washi and finished it all off with some paper "twine", a little flag and a lime green button. Hope you love it just as much as I do :) 

Since I already had the stamps, button and paper twine (and kinda sorta the Washi) I'm entering this in the challenge over at Sweet Stamp Shop.

This week they've changed things up a bit, you can use one or both or neither of these pictures as a guideline....


That's it for me today. 3 day weekend...woo-hoo!!, what are y'all going to to do? I'm hoping to spend most of the weekend in my crafty area :)

Wednesday, August 28, 2013

whispy feathers

Well hello everyone and welcome to Wednesday!! Today I have 2 little cards to share with ya. Have you seen the little Peacock Feather stamp set that DeNami released back in July? Well, I FINALLY had a chance to play with them a little bit. I had no clue what to do with them but thought that they were lovely and just HAD to have them, lol!!


After a few little trial and errors that were, well, lets just say not pleasing to the eye, shall we ;), lol, I came up with 2 little cards that I'm very happy with....

For this card I dry embossed "script" on a panel and attached it to my card base. I cut a smaller panel and stamped some "script" before before stamping the pretty little Small Swirl Corner, large feather and my sentiment (all occasion stamp set) stamped the larger feather using a teal colored ink then highlighted it with a little dusting of chalk and added a few "ink drops" then popped it up on my card with foam tape.


Wish I could caputre how pretty this turned out....

For this example I started off distressing some white cardstock with plum and teal inks to create a whispy ombre effect. I randomly stamped the feathers using Versa-Mark and used a white embossing powder with little silver flecks in it (I think it's called Snowfall) and heat embossed them - tip: the heat embossing acts as a resist so you could actually do this in reverse order, the ink will wipe off the embossing with a dry paper towel. I finished it off with a sentiment using the same plum color I used to distress with.


Have you used the feathers yet...if so let me know, I'd LOVE to stop by and see what you've done with these pretty little stamps :)


Monday, August 26, 2013

Wreaths Galore!!!


Hello everyone! Were you able to catch my photo tutorial using the Winter Wreath on Friday? Just to show you how versatile this little wreath can be, I made LOTS of more wreaths, lol!! I have so many ideas in my head and wanted to make a ton more but, I simply ran out of time!!  Hopefully I can revisit this little wreath soon :)
 
Let's get started...
 
First up is a little elegant summer wreath. I made the one on the left first but decided it was too "muddy" so I made the one on the right...I like it much better.
Stamps used:
winter wreath
solid rose accents set
sweet saying stamp set


This next card showcases a brand new leaf set for fall. Warm rich tones make this little card perfect for your Thanksgiving celebration.
Stamps Used:
Winter Wreath
Thankful For You
Solid Leaves Set
 
 
I couldn't stop at just one Fall themed card. The problem is is that I wanted to use the little acorn and I thought it would get lost on the card with the large leaves. I just had to give the darling acorn its own card, lol! 

Stamps used:
Winter Wreath
Autumn Stamp set
Elegant Floral stamp set
Garden Accent stamp set
Thankful for you

 
I have to admit that I'm pretty smitten with this next card. Y'all know that Halloween is my favorite holiday, so there was no way I could resist making a Halloween wreath!! I have several ideas for a Halloween wreath and wish I could have made them all for you, but don't worry, Halloween isn't that far off!! ;)

Stamps used:
Winter Wreath
Halloween stamp set
Solid Rose Accents stamp set


I wanted to do a winter theme that wasn't Christmas. I wish you could see this one in person, it had lots of pretty shimmer to it thanks to using Brillance inks. Unfortunately the camera can't capture just how pretty it is. The little "jingle bells" are double stamped - since the Brilliance Platinum doesn't really show up well on white cardstock, I stamped them in a light grey then stamped them over again using the Platinum so that they would have the same shimmer as the wreath itself.
Stamps used:
Winter Wreath
Garden Accents stamp set
Small Solid Snowflake Circle

 
Well, even though I did the tutorial on a Christmas card, I couldn't resist doing one more. This time I have it on a little panel that I poped up with foam tape.
 
Winter Wreath
Winter Pine set
Christmas Greeting set
Classic Christmas set


Well that's it for me today! I hope my ideas have started you thinking and that you've come up with a few ideas too.  Let me know if you make a little wreath, I'd LOVE to stop by for a visit to see it :)

Friday, August 23, 2013

Versatile wreath

Hi everyone and happy Friday!! As promised I have a little photo tutorial, however, my camera is still being a real pain in my tushie and it would not throw me a bone what so ever...grumble grumble! :(    My pictures aren't all that great, but I didn't want to let y'all down so I pushed through it :)
As a lot of you know, I was lucky enough to be able to work in the DeNami show booth last weekend. I had the BEST time ever!! I met soooo many sweet DeNami fans and had a great time telling gals all about the yummy goodness that makes up DeNami...sigh, it was a dream come true! I also got to run the "make & take" table all by myself! I was demonstrating something that I don't pull out near often enough...Crystal Lacquer Pearl Pens. I showed gals how to use them to color, hold glitter and add lots of great dimension. The only downfall (if you can call it that, lol) of the weekend was that we were soooo busy the whole time that there wasn't two seconds to really "talk shop" with Nami. I would have loved to watch her create some beautiful cards and bounce ideas back and forth. But was a blast none the less :)
Nami had the brand new Winter Wreath pulled out and was making beautiful fall wreaths in warm and rich earth tones with lots of sparkle. She even used it for one of the classes she taught...wish I could have seen it!! Well, it gave me an idea, I wanted to do a little tutorial showing just how fun and extremely versatile this stamp can be and why I think it's now on my 10 must have list.

How does a card that's practically one layer, has lots of bling for the holiday season and takes only about 5 steps sound?? I'm going to start off showing you how I made a pretty little Christmas card (it's not that far off ladies!!) then on Monday, I'll showcase several other cards I've made ranging from everyday to several holidays just so you can see the true versatility of this one little image.
I gathered a few supplies:
Cut a piece of white cardstock to 5 1/2 X * 1/2 and fold in half to form an A2 sized card base. Stamp the wreath on the center using a medium brown ink color.
  
Using two different green inks, fill in the wreath with the pine sprig from the Winter Pine stamp set.  Then, using a dark brown stamp the pine cone from the same stamp set. Add the berries from the Classic Christmas petit four set in a reddish color to finish filling it all in. *Don't be afraid to layer those ink colors!!

Using the same ink that you stamped the wreath in, stamp a little banner on a piece of scrap white cardstock. Stamp the Noel sentiment from the new Christmas Greetings stamp set along with some berry accents and fussy cut.

 Using one color of Crystal Lacquer Pearl Pen or Crystal Lacquer & glitter at a time, add accents as desired. I ended up adding a couple of additional colors that I didn't picture in my supplies list. * I added some Strawberry Freeze along with the Cranberry and some Cirtone along with the Evergreen for some contrast.

Once your giltter is dried attach your sentiment using foam tape (or you can do this step before you glitter) and add a pretty little bow.

Here's my finished card...


Just 5 easy peasy little steps is all this card took. Don't forget, I'll be back here on Monday with a fun line up of other cards using easy basic layouts and this very versatile wreath!


Wednesday, August 21, 2013

Howdy Pardner'

 Well hello everyone :) and welcome to Wednesday...woo-hoo, that means the week is half over and I can see the weekend in sight!! ;)

Unfortunately I'm still having camera issues so I haven't taken any pictures of my newest work, but that's okay, this way I'm forced to show y'all some goodies I made a while back and hadn't gotten around to! 

I actually made this little guy right after the stamps were released at the beginning of the year!  There's just always so much to share with you gals that my little cowboy kept getting shoved aside!

 
Cowboy Chickie is too cute for words isn't he?? And then when you pair him up with the fun Petit Four sets (Southwest stamp set, Cowboy stamp set)  you really have something!! If memory serves me right, this is the first card I made using my beloved Gingham Background stamp....sigh, love at first use!! ;) hehehehe See how versatile it is...I used it here for a bold & fun western theme and you've seen me use it all the time for floral, shabby chic and girly girl themes. You can have it bold and stand out like this or soften it and have it as a pretty little accent like I did here...what a perfect little stamp for your DeNami stash!

Well, that's it for me today, I will see you back here on Friday with hopefully a little photo tutorial if my camera decides to behave nicely :) and I'll tell you all about my adventures at the stamp show this past weekend.

Monday, August 19, 2013

A little sun and a margarita...that's all a girl needs

Hi everyone! Today I have a little card to share with you that I made for The Shabby Tearoom blog. I was lucky enough to be abole to guest design because I had won a challenge :) The inspiration over there is mind boggeling...WOW! And contrary to the name, it's not always "shabby". While I love me some shabby chic eye candy, I can rarely pull it off, :(  however, I just do "me" and submit that...it's loads of fun!!

Anyway, I was given this picture:
 
For picture inspiration you can draw from the colors, theme, textures...what ever speaks to you in the picture. The one stipulation we had to abide by was to use a metal object. This picture immediately made me think of the Mimi Lounging stamp from DeNami! Only problem...I DIDN'T OWN THAT STAMP!!! :o *gasp* That's horrible isn't it?? Well, what's a girl to do but ORDER IT! ;)  Hey, I'll use any excuse to order me some DeNami yummyness, lol!!!
 
 
Here's my card and a little gift to go with it...


I plan on eventually sending this to my Niece, Amanda. This all fits her perfectly :)
 
 
A little close up...


 I'm going to admit that at first I had a few issues with Mimi. The way the stamp is, is that she always on a bit of an angle. This leaves a lot of "white space" in 2 of the corners of the panel you stamp her on. I ended up playing around with layouts for over an hour and then had to sleep on it. I finally came up with this and was pretty content with it. The little paper clip originally came with a different ribbon on it. I simply changed that out so it matched the rest of the ribbon :)
 
That's all for me today...see y'all later :)

Friday, August 16, 2013

Fun and easy daisy birthday card

Well hello everyone and welcome to another showing of a start to finish card! I pulled out a couple of stamps that are in my "top 5 must haves" along with the brand new Solid Petals set and made this little cutie :)


Now again, I must apologize for my terrible picture and not so wonderful video quality...Tina needs a new camera!! However, Tina needs a second job to be able to afford one....have you seen the prices of a decent camera that can take video too...WOW, lol! I need to do a little research to see if it's best to go back with something like I had or with a smaller camera and separate video camera, so if y'all have any suggestions or knowledge...I'm open!!!

Cardstock measurements:
  • kraft 5 1/2 X 8
  • kraft 1 X 4 1/8
  • light pink 2 1/4 X 4 1/8
  • celery green 3 1/8 X 4 1/8
  • fushia 2 X 4 1/2
  • white 1 7/8 X 4 3/8 
Stamps used:


Like I mentioned in the video, you can change this card up in lots of ways....
For this card I used the small solid circle stamp and a sentiment from the sweet saying stamp set
For this card I added a strip of magenta Washi tape over the ribbon and used a magenta bow

Well that's all for me today. I hope you liked my little video and decide to give this little card a try. It's really fun and best of all EASY!

I hope y'all have a great weekend! I'm going to have a GREAT weekend...DeNami is coming to my area!!! Even though I live in St. Louis, MO, Collinsville, IL is just 15 minutes away - WOO-HOO!!!! I'm lucky enough to get to work elbow to elbow with the Queen of DeNami herself...SWOON! I can't wait to start telling potential customers about the wonderfulness that is the DeNami Stamp Company! I'll see ya on Monday with LOTS of fun news about my adventure and a little card/gift combo!

Thursday, August 15, 2013

I like graaaapes....

(hehehehehehe) One of my favorite lines out of the Willy Wonka re-make! It's become a family joke, anytime you want to say you like something, we say....I like graaaapes!! I know, dumb and corney, but hey, we amuse ourselves (rather easily, lol) and that's all that matters, right???

I wasn't going to enter another challenge this week, but I sat down at my crafty desk to unwind a bit Tuesday night and I made this little card. I was pretty sure it fit the current The Shabby Tea Room challenge (and it did indeed fit) so I decided I'd make a quick post for today since I promised y'all a start to finish card video for Friday.
We are to use fruit or veggies and text
I changed up a little card that I had made when I guest posted on the DeNami blog back in June. I've been wanting to do this card ever since I made that floral card but just never got around to it...


I started by cutting the center out of my panel then stamping the resulting frame. After LOTS of coloring I popped it upon my card base with foam tape (previously added a length of ribbon).  This time around I used the elegant word plate for my sentiment...so much prettier! Wish it was available when I made the first card...I may go back and change it. When I was all done putting it together I decided it still needed a little sumthin-sumthin' so I added a little purple Chrystal Lacquer and cream Pearl Pen along with just a touch of glitter.


I just love the shadowed effect lifting the fame up on the foam tape gives...what fun dimension! That's all for me today, I will see you back here tomorrow with my latest start to finish card video! :)

Blogger note: Today is a big day over at Paper Sweeties Stamp Company! You know, the darling paper dolls that I dress up and use on my cards?? Well, they've been celebrating their 1st birthday with LOADS of fun and today they are releasing not only new images, but launching a new product!! I've been keeping a HUGE secret and today i finally get to spill the beans :)  The Paper Sweeties dolls now have coordinating metal dies to cut them out with called, Sweet Cuts!! The dies will work in all the machines like Big Shot, Cuttlebug, etc. I'm so very proud of my friend for all that she's accomplished in this past year and wish her continued success and inky fun!

Wednesday, August 14, 2013

Stache' chickies

I need to clean out my blogger "closet". I think I have around 20 drafts sitting in Blogger...eekkk! Ohh my goodness, I have been trying to show all of these cards forever!!! Seriously...FOREVER...I've had today's cards in a blogger draft since May 1st and there's no telling how long they sat before I loaded the pictures in blogger...wow!


Mustaches are all the rage and I had came across a little package of some cute staches' at Hobby Lobby and just had to have them. Had no clue what to do with them, but I HAD to have them all the same, lol! hey, I'm a lemming and I'm okay with that, lol ;) !
 
 After mulling it over a bit I decided to dress up the Large Chickie...how can you NOT love a stach'd chickie, right???
I added some washi for a background and stamped my panel with a little light grey Curly Border from DeNami before adding the sentiment from the Everyday Greeting set and my cute little mustache stamp (forgot the name of the company). I finished it all off with some yummy polka dot washi and twine/button treatment.

pssst...don't ya just love the DeNami houndstooth background stamp...swoon!!


This little card couldn't be any easier! I stamped the Houndstooth Background, added the punched border panel along with the 2 square ones. A little twine and button treatment and 2 little pieces of bling to finish it all off and balance it out...easy peasy!

That's it for me today. I will see you back here on Friday with a new start to finish card video!! A fun little card using just a couple of stamps (including one of the new garden sets!) :) See ya then!

Monday, August 12, 2013

Wait, what kind of post is this????

If you're looking for my DeNami blog hop post, it's just one down...Thanks!

Hi everyone and welcome to another fun Tool Talk!! Are you ready to meet this months special guest?? Drum roll......TA-DA, it's ME!!! I have had so many fun and inspirational gals sign up to do a Tool Talk that I haven't been able to do one since January!! I feel so honored that these gals have all taken the time to guest post here on the Addict blog...it just amazes me how sweet the crafting community really is!

Enough with all that gushy stuff...let's get to business shall we??


What I want to talk about today kind of serves as a "Tips & Tricks" post too...y'all are gettin a two for one special today, lol!
 
I got the idea for this post because I recently had to replace one of my beloved crafty tools. Well, I needed to replace it months and months ago, but never could find anything comparable at the big box stores. And honestly, I hadn't ordered anything from the company my fave little tool came from in AGES. I was trying to be a good girl and stay away from them for my wallets sake, they have loads of yummy goodness I'd want ;) hehehe!

The item I'm talking about is my Stampin Scrub from Stampin Up!. I love everything about it; the removable/washable pads, the size...sigh, it's just perfect. The ones in the stores are just too small, I like me some elbow room ;) and the pads just aren't as dense and nice!!


Just look how worn out this thing is!! I've had it (and use it almost daily) for about 6 / 7 years now. The hinge is still perfect and while yes, it's still useable, even if it's getting a little thread bare in the center, I thought that it just needed to be retired to the big stamp shop in the sky....sigh. It's been a good friend and has been by my side through all of my crafty adventures, good and bad...sniffle sniffle.  However, the new Stampin Scrub is everything I dreamed of and more! ;) Not sure if it's because I was just used to my old worn out one, but I think the pads are even denser than before for even better cleaning! The pads on the new scrubber pop out just like the old ones did so when there's just too much cleaner and ink you can simply wash them with a little dish soap and pop them back in. I do that about every 6 months or so...not too often.

 
You see that stamp...yup, one of my favorites, right? Think about how often you've seen me using it and look at how pretty and clean it still is....Mmmhmmm, right about now you're thinking it's looking pretty darn nice aren't you? I just use a spray cleaner I get from the big box stores and my Stampin' Scrub pad. It has two sides...one for wet and one for dry. I simply spritz one side, wipe my stamp clean then wipe it on the other side to dry it...that's all there is to it.

As you can see from my first photo, I also use wet wipes, but that's mostly for my fingers, removing ink from a clear block before stamping my image, to wipe off my Stamp-a-ma-jig or something small like that. Now the StazOn cleaner, that  is great to have around too for several different purposes. Yes, of course when you use StazOn ink, we all know how hard that stuff is to clean off our stamps. But did you know that it can clean your stained Stamp-a-ma-jig sheet,  stained clear blocks and lessen the stains on your clear stamps too? I don't recommend using the StazOn cleaner all the time because it's a bit harsh, but every so often when I notice a stamp or block is looking particularly bad or if an image left a "shaddow" of itself on my Stamp-a-ma-jig sheet I'll pull it out for a good "spring" cleaning.

Pretty hard to take pictures of clear things but my Stamp-a-ma-jig has a slight discoloration to it...it's  like an overall discoloration that old plastic gets, ya know what I mean?  It's not stained with prior stamped images thanks to the StazOn cleaner. It's actually clearer than the picture shows. Now bear in mind, I bought this at the same time as my old Stampin Scrub, 6 or 7 years ago...it's pretty darn good looking for the torture it's been put through. I can see through it and line my stamps up perfectly without any troubles at all.

Well there you have it...know you know my stamp cleaning secrets ;)  hehehe! Hope you enjoyed this months Tool Talk!
 

Sunday, August 11, 2013

DeNami August Blog Hop - Sweet & Simple

Hi everyone, can you believe it's blog hop time again...where did last month go??? Have you been enjoying yourself so far? I myself, can't wait to see what everyone has created!! Before we get started, I need to apologize for my photos. I have no clue what is going on, but my camera is having a melt down....sorry!!!

Here are the deets:
When: The blog hop starts on August 11th at 6 AM, PST. However, you have until August 12th, 2013, 11:59 pm PST, to leave comments on all the blogs (to be eligible for a prize).

 
Why: To be inspired by fun DeNami Design creations and also the chance to win mini shopping sprees on the DeNami Design website!

Prizes: We are giving away THREE $20 gift certificates to our website! We'll be giving away one gift certificate to a random participant (DT members not eligible) and then we'll also be giving away TWO gift certificates to TWO people who comment along the hop!
 
 
Now that all that's out of the way, you should have arrived here from the very sweet and talented Greta Hess' blog. If not, don't worry, you can go to the DeNami blog for the full list to get back on track!

 
I know y'all are expecting multiple projects from me as usual. However, I kind of do and don't have multiple projects this month ;) I made a little set of note cards to fit various occasions.


I went with different themes and a broad color palette, but stuck with the same layout so they all "matched".
 
Stamps used:
  • polka dot background
  • decorative flourish
  • small solid hibiscus
  • solid leaf sprig
  • round leafy tree
  • tropical drink set
  • mini butterfly
  • polka dot butterfly
  • small spring flowers
  • assorted greeting set
  • heartfelt greeting set
  • everyday greeting set
  • thoughtful greeting set
  • thoughtful greeting set
 
And you can't have note cards with out a little holder of some kind, right? I simply dressed up a DeNami 3X3 boutique box with a strip of black cardstock, then added a strip of charcoal that I had punched both long edges on and added a doily. If I did it over again I would leave off the doily. I wanted to really draw your eye to the sentiment so I punched a black scalloped circle and a piece of velum to soften it before adding the elegant word plate with the sentiment from the all occasion trifle stamp set.
 
My cards are 3X3 and the envelopes are actually 3 1/8 X 3 1/8. The envelopes are just a little bit big for my box, but since I only made 6 cards there's plenty of room to put the envelopes in at a little bit of an angle so everything fits nicely.
 

Well that's it for me today, hope you liked my little project. Now off you go to visit with Larissa Heskett on her little blog. I bet she has something spectacular to share with all of us!!!


Friday, August 9, 2013

Thinking of you...

Hi everyone!! I am so ecstatic about being invited to guest design on the blog over at Paper Sweeties for this months challenge! Ya'll know how much I puffy heart me a challenge and being on some one elses blog showing my work...well, now that's just amazing all by itself!
 
I know ya'll have heard me talk about Paper Sweeties before...the little "paper" dolls that can be dressed up so cutely? Did you know they have wonderful little sentiments and banners too? They have their big 1st birthday bash going on right now...loads of fun to be had!
 
I didn't use any Paper Sweeties on this little card, just some yummy-licious DeNami, however, it's not a requirement to use their stamps to enter their challenge, why not give it a try???
 
Here's the sketch...

And here's a card I made that happens to fit this fun and easy layout....


This little card started out as a MESS, it twisted and turned so many different ways I got whip lash! I started out wanting to make a card that involved a big blue flower I had. I looked all through my pretty pattern paper stash and just couldn't find anything that I liked to go with it. That's when I decided to make my own...I should have known to have started with that in the first place...just sayin'. I pulled out the pretty decorative flourish and the Small Dot Wreath and went to town on some white cardstock. I ran a paper piercer along the edges and roughed up the edges to make it look a little worn. I made my scalloped strip and added a piece of white cardstock that I randomly stamped with the Small Dot Wreath in both ink colors then layered on some light blue gross grain ribbon, pretty fringe and a string of pearls. I made my little fiber and paper bows then did a little "dry run". I wasn't happy with it at all!! The flower just looked off...sigh, strike 2! I didn't want to waste all the hard work I had already did so I had some thinking to do. I decided to use a little stacking flower die cut set I had. I stamped them with the Small Dot Wreath then using a make-up sponge and the two colors of ink I'd been working with, "colored" them to match the card. I added a couple of little finishing touches with the resin roses and am finally happy with the results!
 
I say this over and over, sometimes you just simply have to let the card lead you where it wants to go, not what you have in your mind to make....
 
That's it for me today, I will see you right back here on Sunday morning for the wonderful goodness of a DeNami blog hop!!!! I seriously can not wait to see what everyone made!!!